How to Winterize Outdoor Faucets, With or Without a Shutoff Valve
Winterizing an outdoor faucet takes about twenty minutes, and the hardest tool involved is a bucket. It's also the single most skipped item on fall checklists, which is unfortunate, because the pipe feeding a hose bib runs through the coldest wall of the house, and a split there usually announces itself months later, inside a finished wall, the first time you hook up a hose in spring.
The stakes aren't small: $13,954 is the average water-damage-and-freezing claim in the Insurance Information Institute's 2018-2022 figures. Twenty minutes to winterize outdoor faucets is cheap by comparison.
When to winterize outdoor faucets
Do it before the first hard freeze, meaning the first night the forecast shows lows in the 20s °F. Field research by the Building Research Council at the University of Illinois found that uninsulated pipes in unheated spaces begin freezing once outside temperatures hit 20°F, and an exterior hose bib is more exposed than that: it's literally outside. In the northern tier, that means winterizing in mid-fall, well before you're tempted to wait for "one more warm weekend."
There's a second reason not to wait. State frost-line data compiled by World Population Review puts design frost depths at 42-60 inches across the upper Midwest and up to 80 inches in northern Minnesota. Everything above that line, which includes every hose bib and the horizontal pipe behind it, freezes without protection. This isn't a marginal risk; it's the default outcome.
What you'll need
Everything required to winterize outdoor faucets fits in one hand:
- An adjustable wrench or channel-lock pliers (only if your hose fitting is stuck)
- Something to catch the line's leftover water: a bucket or an old towel
- A foam faucet cover, sold at any hardware store, sized to slip over the spigot
- Optional: foam pipe sleeves for the exposed pipe run (our insulation guide covers sizing)
No specialty tools, no plumbing skills; it's a pure DIY job. If you can operate a valve, you can do this. And if you're caught without a cover, don't skip the drill: to winterize an outdoor faucet without a cover, drain it exactly as described below, then wrap the spigot in a towel inside a plastic bag. The drained pipe matters far more than the wrap.
Winterizing with an interior shutoff valve
Most houses in cold climates have a dedicated shutoff on the pipe feeding each outdoor faucet. Look on the basement ceiling or crawl space wall, within a few feet of where the pipe exits the house. If you've never done it, here's how to winterize an outdoor faucet in six steps:
- Pull the hose off. Empty it and put it away for the season. A connected hose is the number-one cause of burst hose bibs, including frost-free ones, because it traps water in the faucet body where it can't drain.
- Locate the interior shutoff and close it. Gate valves with round handles tighten clockwise until they stop; ball valves with levers take a quarter turn that leaves the handle at a right angle to the pipe.
- Open the spigot outside all the way and let whatever the line holds run out. Expect a cup or two, then a dribble, then nothing.
- Drain through the bleeder cap, if your valve has one. It's a small knurled cap on the valve's side. Hold the bucket under it and unscrew it to empty the horizontal run, then thread it back on.
- Leave the outdoor faucet handle open. This is the step people doubt, but yes: when you winterize, the spigot stays open all season. With the supply closed, an open spigot gives any remaining moisture room to expand instead of splitting the valve body. Close it again in spring.
- Slip the foam cover over the spigot. It protects the body from wind-driven cold and adds a margin of error.
That's the whole job. Houses often have two or three bibs; winterize the forgotten one on the far side of the garage first, because that's the one that bursts.
No interior shutoff valve?
Plenty of homes, especially older ones, feed the hose bib straight off a supply line with no separate valve. You still have options, in ascending order of protection:
- Cover and insulate. Disconnect the hose, install the foam cover, and insulate the interior pipe run leading to the faucet. This helps in moderate cold but is not a guarantee through a northern January.
- Insulate the space it runs through. If the feed line crosses a crawl space, treating that space matters as much as the faucet; see keeping crawl space pipes from freezing.
- Have a shutoff or frost-free sillcock installed. A plumber can add an interior ball valve or swap in a frost-free model in a single short visit. If your setup gives you no way to drain the line, this is the permanent fix. Call (800) 555-0173 and we'll connect you with a licensed local plumber who can quote it.
Need a licensed plumber right now?
Call (800) 555-0173Free call, connects to a licensed local plumberLicensed plumbing partners in your area- Licensed and insured partner network
- 24/7 call routing
- Free call, no obligation
- You approve the price with the plumber directly
Frost-free and anti-siphon spigots still need one step
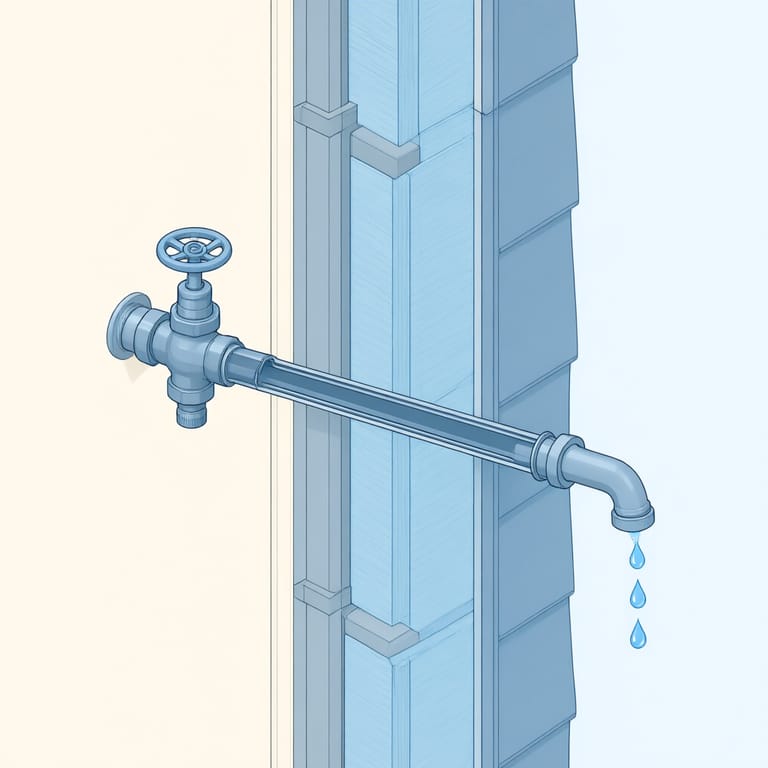
A frost-free sillcock puts its actual valve seat well inside the heated wall, so the outdoor stub holds no water, as long as the hose is off. Leave a hose attached and the body stays full and freezes like any other pipe, which is how "freeze-proof" faucets burst every winter. Same rule for anti-siphon spigots: the vacuum-breaker cap on top doesn't change the drill. Disconnect the hose, let it drain, done. The slight downward pitch these faucets are installed with does the rest.
Forgot to winterize the outdoor faucet, and now it's January?
Don't panic, and don't test it. If the faucet hasn't been used since the freeze, water may have frozen in the line without splitting it. Or it may have split, and the crack is waiting for pressure. Disconnect any hose now, cover the spigot, close the interior shutoff if you have one, and leave the outdoor handle closed until a warm spell. When you first open it in spring, have someone watch the wall and floor inside while water runs: any dampness means the pipe split over winter and needs repair before the faucet sees regular use.
If you winterize because the house will sit empty, the outdoor spigot is only step one: a vacant house needs the full drain-down treatment.
Spring reversal
De-winterizing is the same job backward: remove the cover, close the spigot, open the interior shutoff, then open the spigot and check for steady flow and dry walls. Two minutes per faucet.
When to call a pro
Call (800) 555-0173 if the shutoff valve won't turn or weeps when closed, the line won't drain even with everything open, you find a crack in the spigot body, or spring startup shows water inside the wall. These are small repairs on a plumber's scale (a sillcock replacement is routine work) and far cheaper than the drywall repair that follows a burst. The call is free, and you approve any price directly with the licensed local plumber we connect you with. For the rest of your cold-weather checklist, start at the winterization hub.
Need a licensed plumber right now?
Call (800) 555-0173Free call, connects to a licensed local plumberLicensed plumbing partners in your area- Licensed and insured partner network
- 24/7 call routing
- Free call, no obligation
- You approve the price with the plumber directly